What I’ve learnt
Sometimes food in a vial is not enough. The advantage and also the difficulty of having many species in stock, is the individual ‘quirks’ some fly species have. Here I have listed some of the main problems I’ve had with stocks, and some solutions to try if you’re having the same issues. I’ve also listed some general considerations to make when working with a new species. If you have anything to add, please comment below.
Fresh Food
Some species need a specific type of fresh food, for example mycophagous species like D. innubila. This species is particularly complex to work with as they will not reproduce without the presence of mushrooms. However, mushrooms very quickly turn mouldy. Colleagues have tried many methods, like freezing the mushrooms, or blending them into the food, as we do with the banana food. But nothing worked. It has to be freshly diced mushrooms (they use Agaricus bisporus) which means the stocks need transferring to new vials every 3-4 days.
Fecundity and food
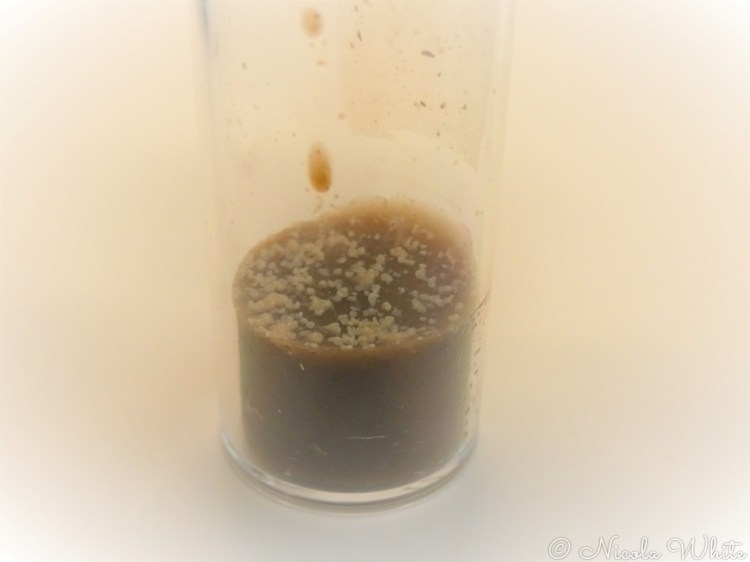
For many species, it is a little easier to increase fecundity. Doubling the yeast when making the food can help. Also, adding active dried yeast on the food surface can make them considerably more fecund. These can be added as granules but even better is to make a paste. Add the yeast granules (we use Levure Active Dried Yeast) to water and mix until it becomes a peanut butter consistency. Then just add a blob onto the surface of the food in your vial/bottle. Note: if it is too wet, the adults will get stuck.

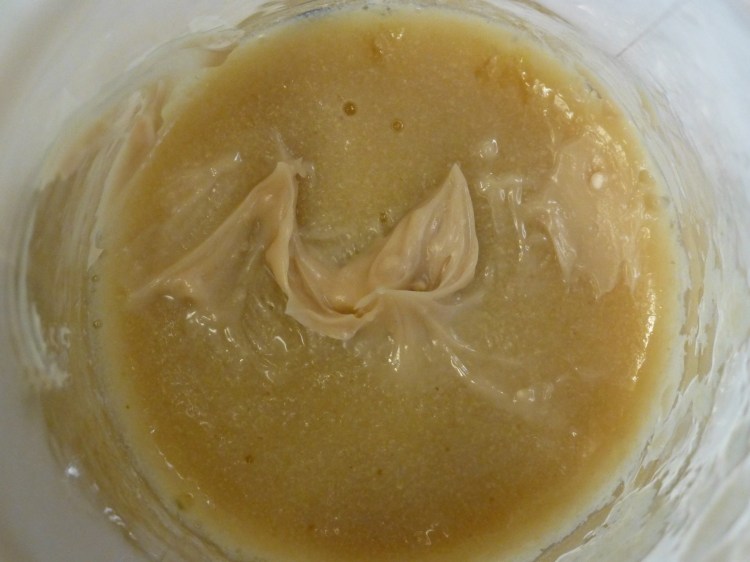
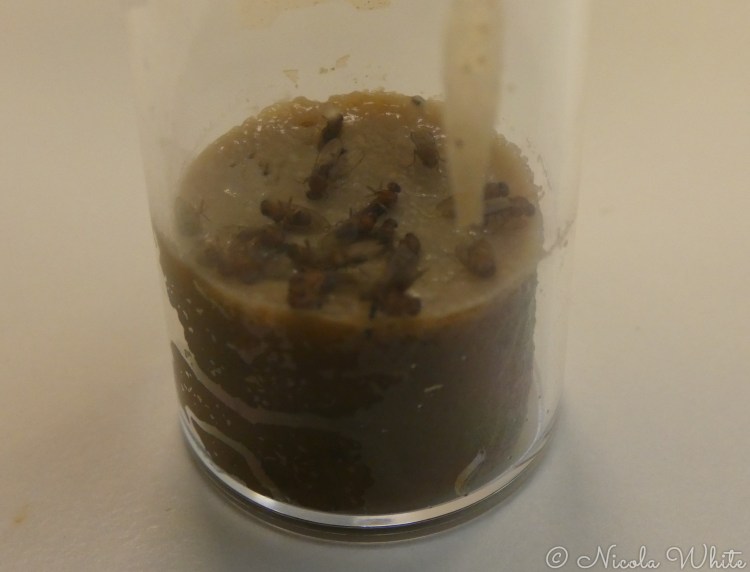
Gooey food
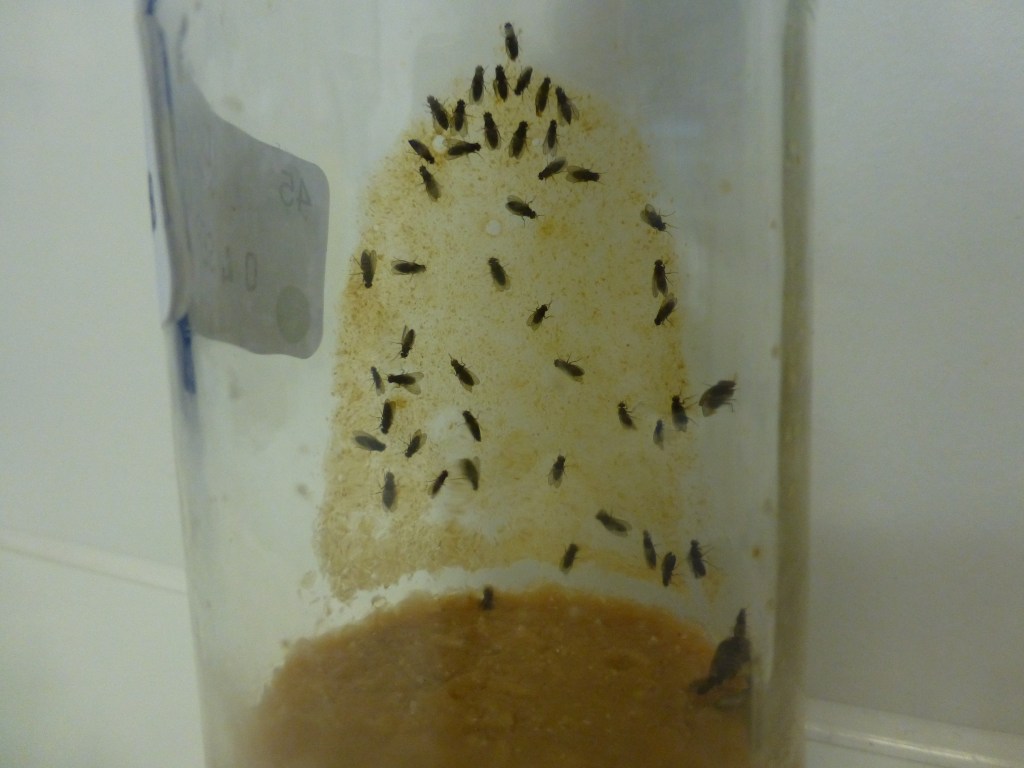
As larvae emerge they burrow into the food. As they progress through L1 to L3 they churn the food over. Some species do this so much and so quickly that if you leave the adults in the vial, sometimes even within a week, the adults will get stuck in the now gooey surface. This can be helped by maintaining minimal adult numbers in the vials, to reduce the quantity of larvae. Another solution is to move adults to new vials sooner, but both of these require more time and resources.

It is possible to increase the agar content of the food which would make the food more resistant to becoming gloop. Care needs to be taken on how much is added. Too much agar makes the food too tough for newly emerged larvae to break the surface. This can be counteracted by scratching the surface of the food to provide an easier entry point. It is a little trial and error to get the right balance of agar to prevent gloop but allow easy chewing for larvae.
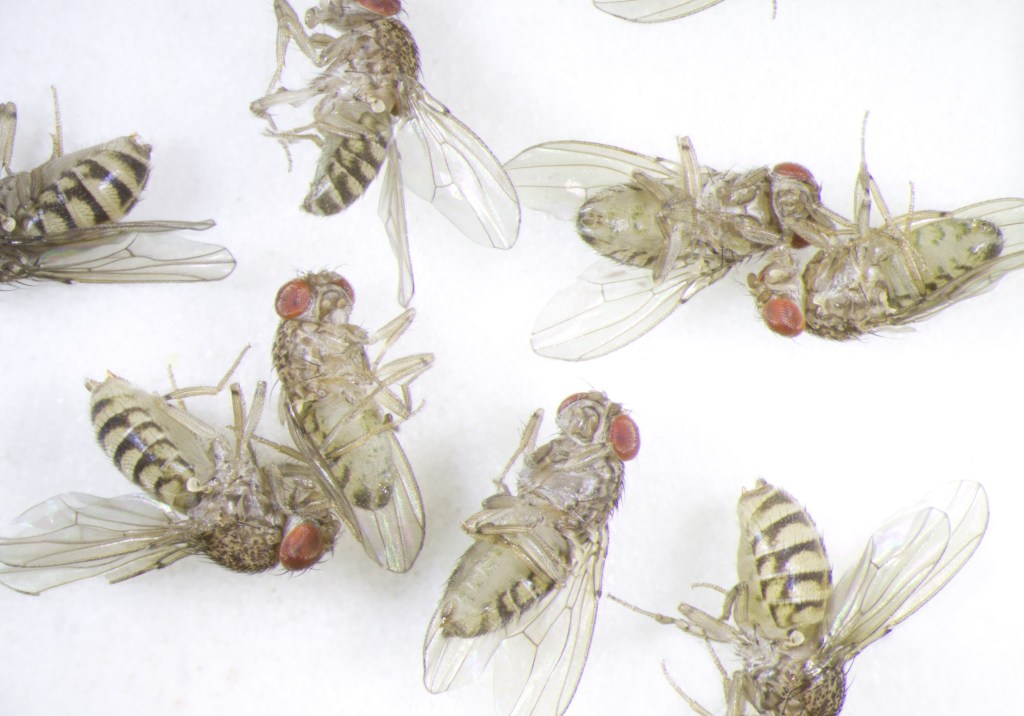
Adults getting stuck
Adults often get stuck on moist surfaces. This is mostly due to their wings becoming wet and subsequently struggling to ‘unstick’ themselves from the moisture source. Even if they manage, it is sometimes impossible for them to clean their wings sufficiently to be able to fly again. The main priority here is to avoid moving adults into vials which have condensation on the sides.
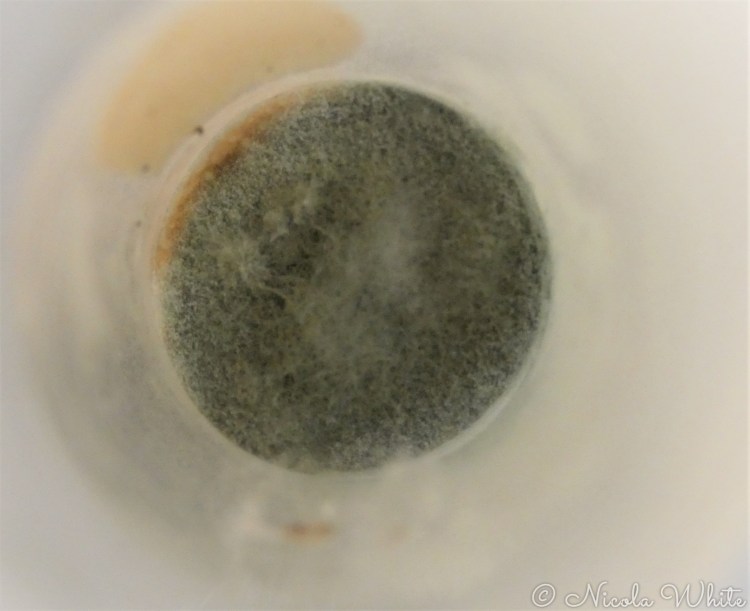
Many adults like to stand on the food surface, even when not eating; and so some species are more prone to these issues. Food turns sticky in 2 main ways: by the larvae churning the surface, or bacterial/mould growth.

D. hydei vial
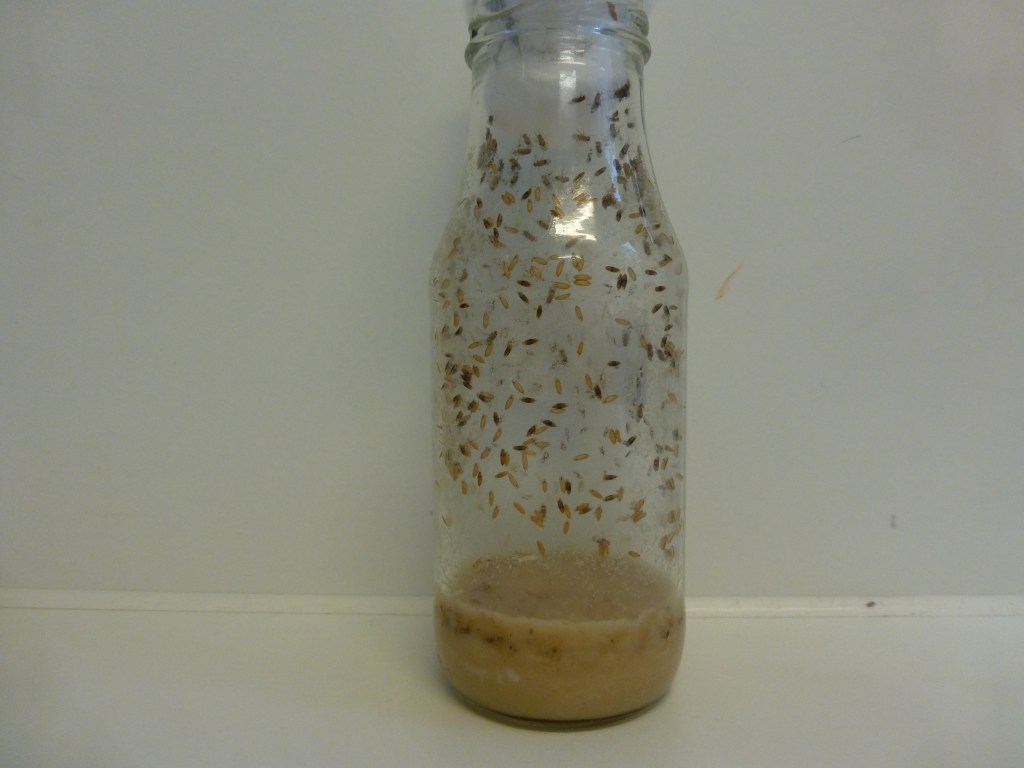
D. novamexicana vial

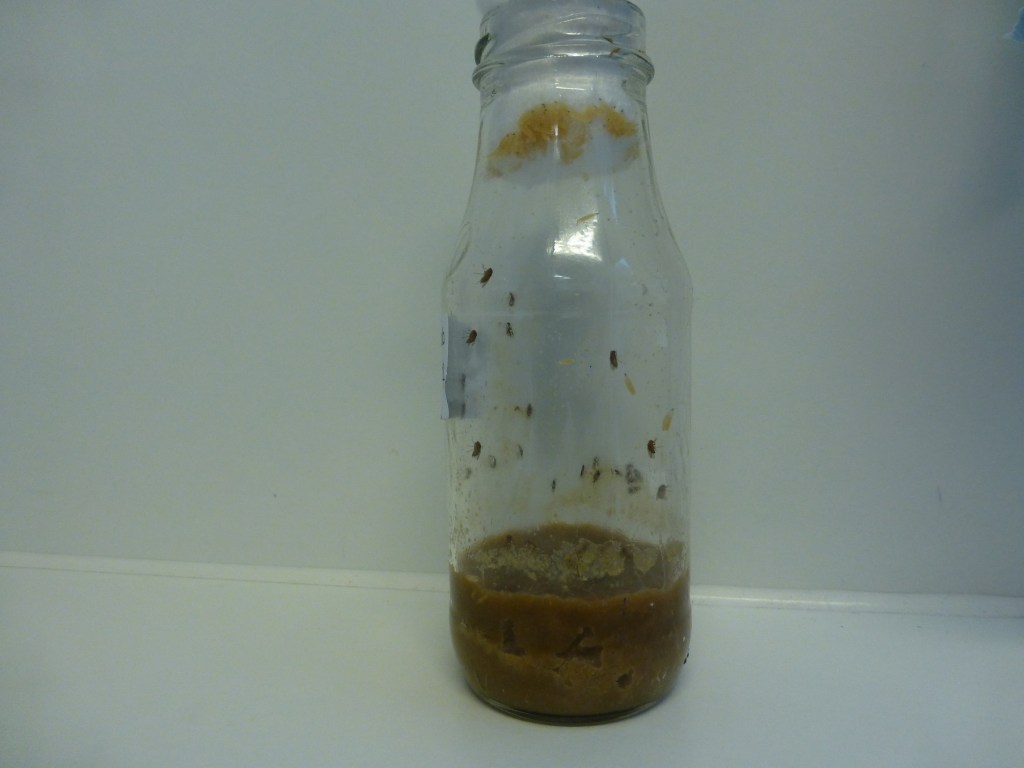
D. novamexicana vial
D. hydei vial

D. novamexicana vial

D. novamexicana vial

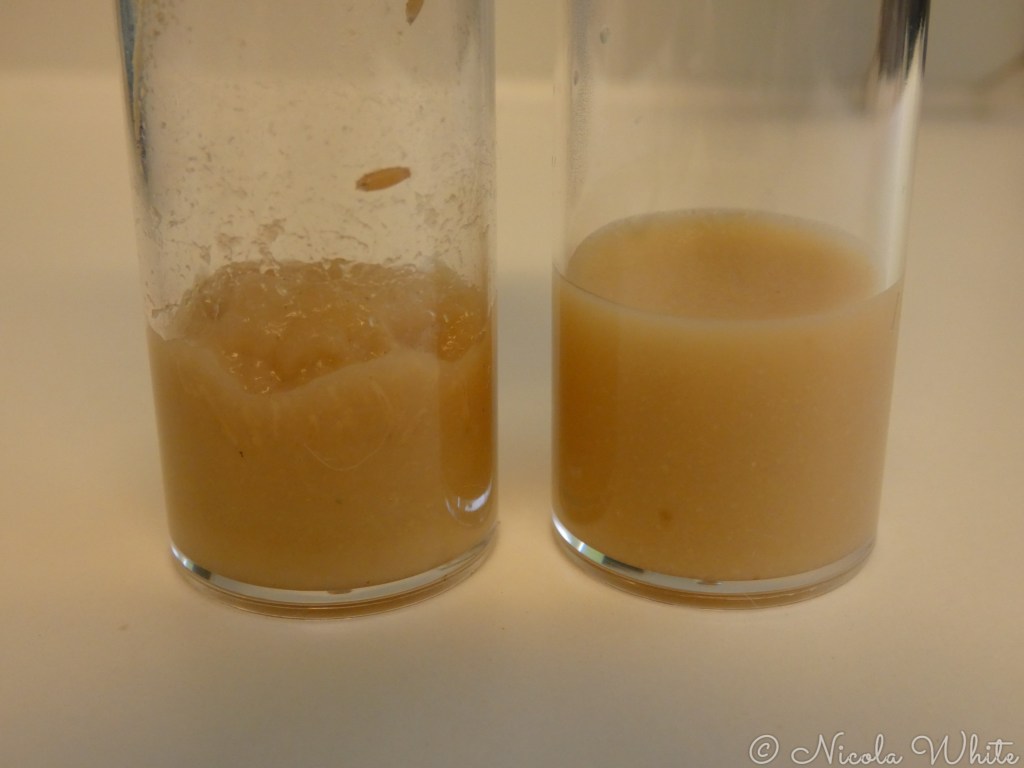
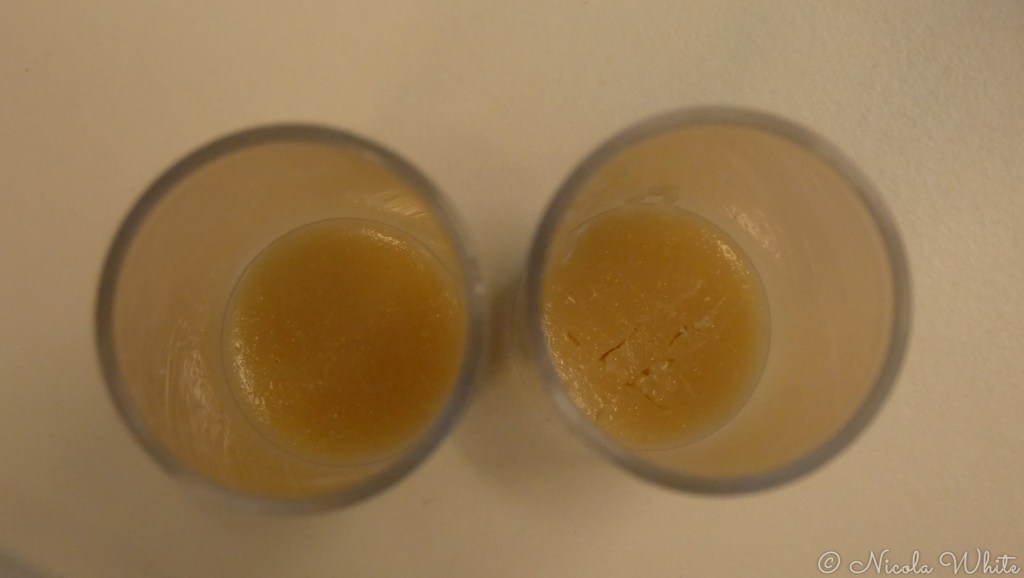
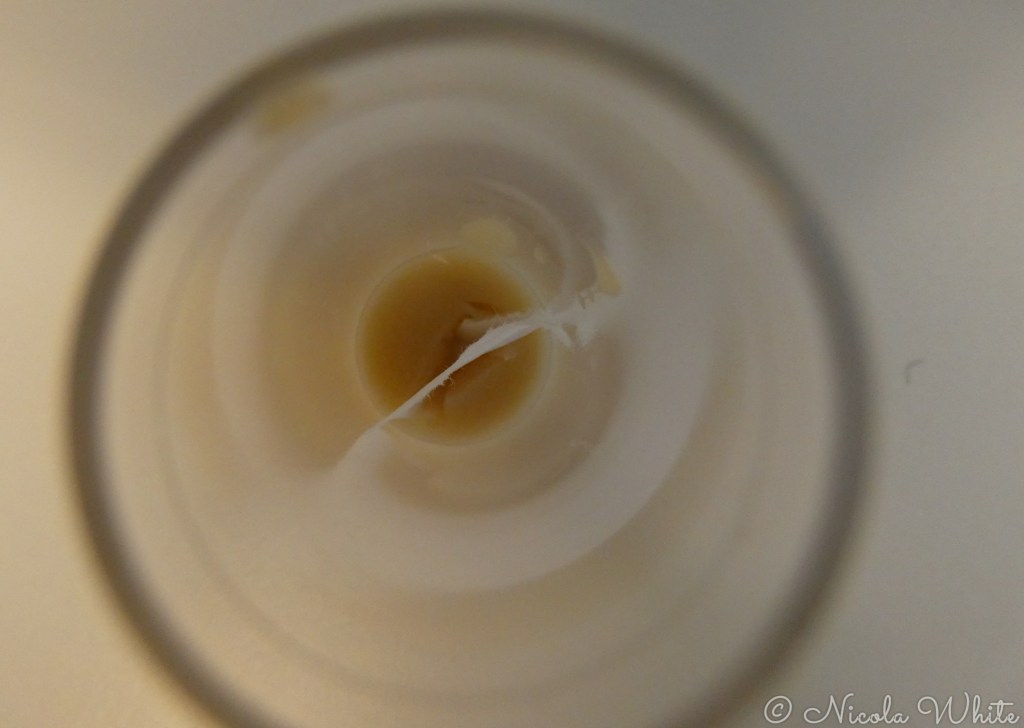
One solution is to provide a standing point for adults, near to the food. Typically this is a piece of filter paper or card sprayed with 0.5% propionic acid (99.5% water) and pushed into the centre of the food so approximately 1-2cm remains above the surface level. The propionic acid is to prevent introducing or providing an additional surface for bacterial growth. An extra advantage is the paper/card can also help provide a place for pupation for some species.

Unfortunately, this did not work well for my bottle cultures. My solution instead was, when dispensing food, to deliberately pour some along one wall of the bottle (see the image below, on the right). This provides the adults somewhere to stand on food, as they like, but without the possibility of larval disruption. By keeping it a thin layer, it does not interrupt light too much either. Females will lay eggs on any food surface so there is a risk of egg loss. However, when females lay eggs, the majority of the egg is ‘pushed’ into the food surface and only the filaments remain above the surface. The food residue on the bottle side is often such a thin layer, the female cannot successfully lay so there’s a minimal risk of egg loss.

Mites
Mites can be a major problem for Drosophila stocks. There are 2 main types, predatory and ‘food’ mites. The predatory mites don’t predate the adults, only the eggs and larvae. However, they can be found ‘hitching a ride‘ on flies to predate on the eggs that female is about to lay. Fortunately, predatory mites are relatively easy to get rid of from stocks compared to food mites. Food mites compete with Drosophila for food in the vials and can be more tricky to remove from stocks. This can make food turn bad or decrease the quality of the food that the larvae need most. See more pictures of mites on the Rare flies and helpful photos page.


Also, see here for advice on how to manage mites:
https://www.protocols.io/workspaces/drosophoto.com/resources/mites-in-drosophila-stocks
Different pupation locations
Drosophila go through several life stages (egg, L1 larvae, L2 larvae, L3 larvae) before pupating and emerging as adult flies. L3 larvae are nicknamed the wandering stage as the individual finds a location to pupate. Although this may have little importance to most who are rearing Drosophila, it is important to consider for some. Obviously those who work on pupae and larval stages. However another example is those who are doing condition assays such as humidity or temperature stresses on whole vial cultures i.e. if a fly pupates in the food, this will experience less environmental variation than a species which pupates on the walls. Here are some photo examples:


Activity
Activity levels of species vary massively too. How physically active a fly is can make a big difference to a study. For example, D. bipectinata are so hyperactive it is nearly impossible to not lose at least some flies anytime you touch the vial closure. And when stressing them as we were, you cannot risk anaesthetising them and compounding the stresses which made removing only the males a much more difficult task than in other species we used.
On the opposite side, D. virilis are so apathetic, you can remove the closure for a minute and they still don’t make an attempt to leave. Knock-down tests are when you tap a vial and record how long it takes them to stand/walk/fly. This would be pointless for D. virilis as they’re likely to barely notice. It made our CTL (critical thermal limit) experiments more difficult as you are meant to record what temperature they can’t perform co-ordinated movement – hard to notice when they barely move at any temperature.
The same applies to a species’ fecundity, even within closely related species. For example, the same number of vials and parents for D. subobscura would produce half the number of offspring than for D. pseudoobscura. These are vital considerations when using a variety of species or choosing a study species for a new project.
Equipment
I wanted to include this section because we’ve previously had a lot of hassle when it came to finding equipment, in particular for dispensing food. Here is a brief list of the equipment we have in our lab.
Microscopes: Leica M50, Leica S9, Leica S9i, Leica S4
Lights – mixture of ring lights and swan neck lights
CO2 – our gas is piped in from canisters and used through gas pads – square pads with a porous surface that the CO2 can slowly disperse through; and needles (blunted) on silicone tubing which are used to push between the closure and wall of the vial to force CO2 into the vial/bottle.
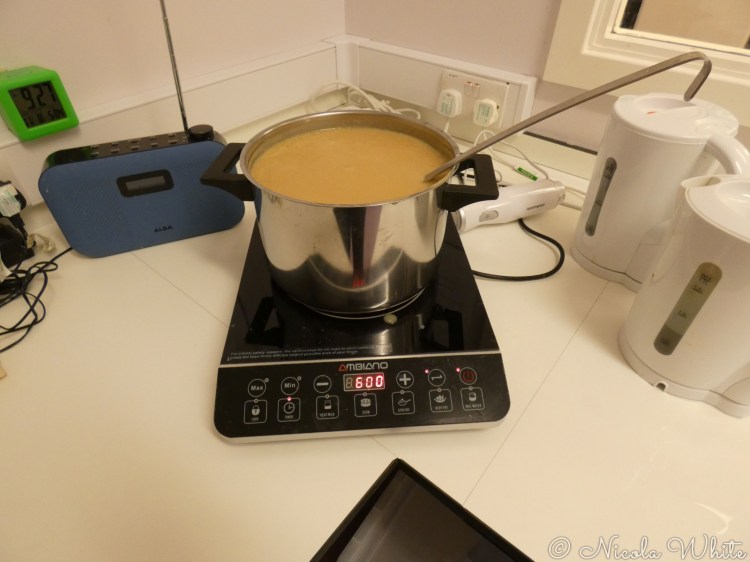
Kitchen – induction hob, food dispenser, scales, measuring jugs, kettle, pans, netting (to cover food)


Equipment for dispensing food
DrosoFiller
This is a manual mechanical setup sold by FlyStuff and is simple to use. Pour the cooked food into the top compartment. Place a trays of vials (the standard 10×10 square cardboard or plastic trays) underneath. Pull the lever and release. The food flows through the holes in top compartment’s base, into the vials below. These are excellent when producing masses of food (e.g. 10-40 litres each batch) but we most often make 4 litres at most. This makes the DrosoFiller ineffective for us because the food cools to quickly, and the amount wasted as residue within the top compartment is probably a 1/4 of what we made.
Peristaltic pump
A peristaltic pump is a electrical mechanical pump in which pressure is provided by the movement of a constrictor along a tube. A pump allows very minimal waste and also allows the user to keep the food warm in the pan if needed. We purchased the Venderflex Vantage 5000 after discussion and testing with a sales representative. The main complications with using a peristaltic pump is the thickness of the fly food (like a very thick soup) which makes it difficult to calibrate the dispensing of equal doses, considering these pumps are primarily designed with liquids comparable to water. The main specifications to consider when looking to purchase a pump are:
Maximum flow rate – whilst a pump advertising a max flow rate of 20ml/min might sound sufficient, this is 20ml of water per minute. For the equivalent viscosity of fly food, it would be roughly comparable to 5ml of food; i.e. filling 1 small vial with 12ml of food would take about 2-3 minutes. I would recommend something with at least 150ml/min as the maximum flow rate. The Vantage 5000 has 6600ml/min.
Tubing size – this ties in with the maximum flow rate. A tube with a 1.6mm internal diameter would mean very slow pumping of the food (if it can even manage at all as we have found with previous pumps purchased). I’d recommend at least 3.2mm, but we use a 6.4mm ID. Check what size tubing can fit the pump model you are looking at.
RPM – The rotation per minute dictates how quickly you can dispense the food. Although the max flow rate is the most important, having a reasonable RPM can help with accurate repeat doses across all vials, as well as speed to dispense. The longer you take to dispense food, the thicker it will become as the agar begins to solidify as it cools. This makes it more difficult to get equal quantities across all vials.
Manually
Sometimes things are just easier by hand. If you are only making bottles, and your doses don’t have to be strictly accurate, then a jug is by far the quickest way to fill bottles. Also, if you are only making a small number of vials, the time it takes to setup and then clean equipment is probably more effort than just using a jug or syringe.
